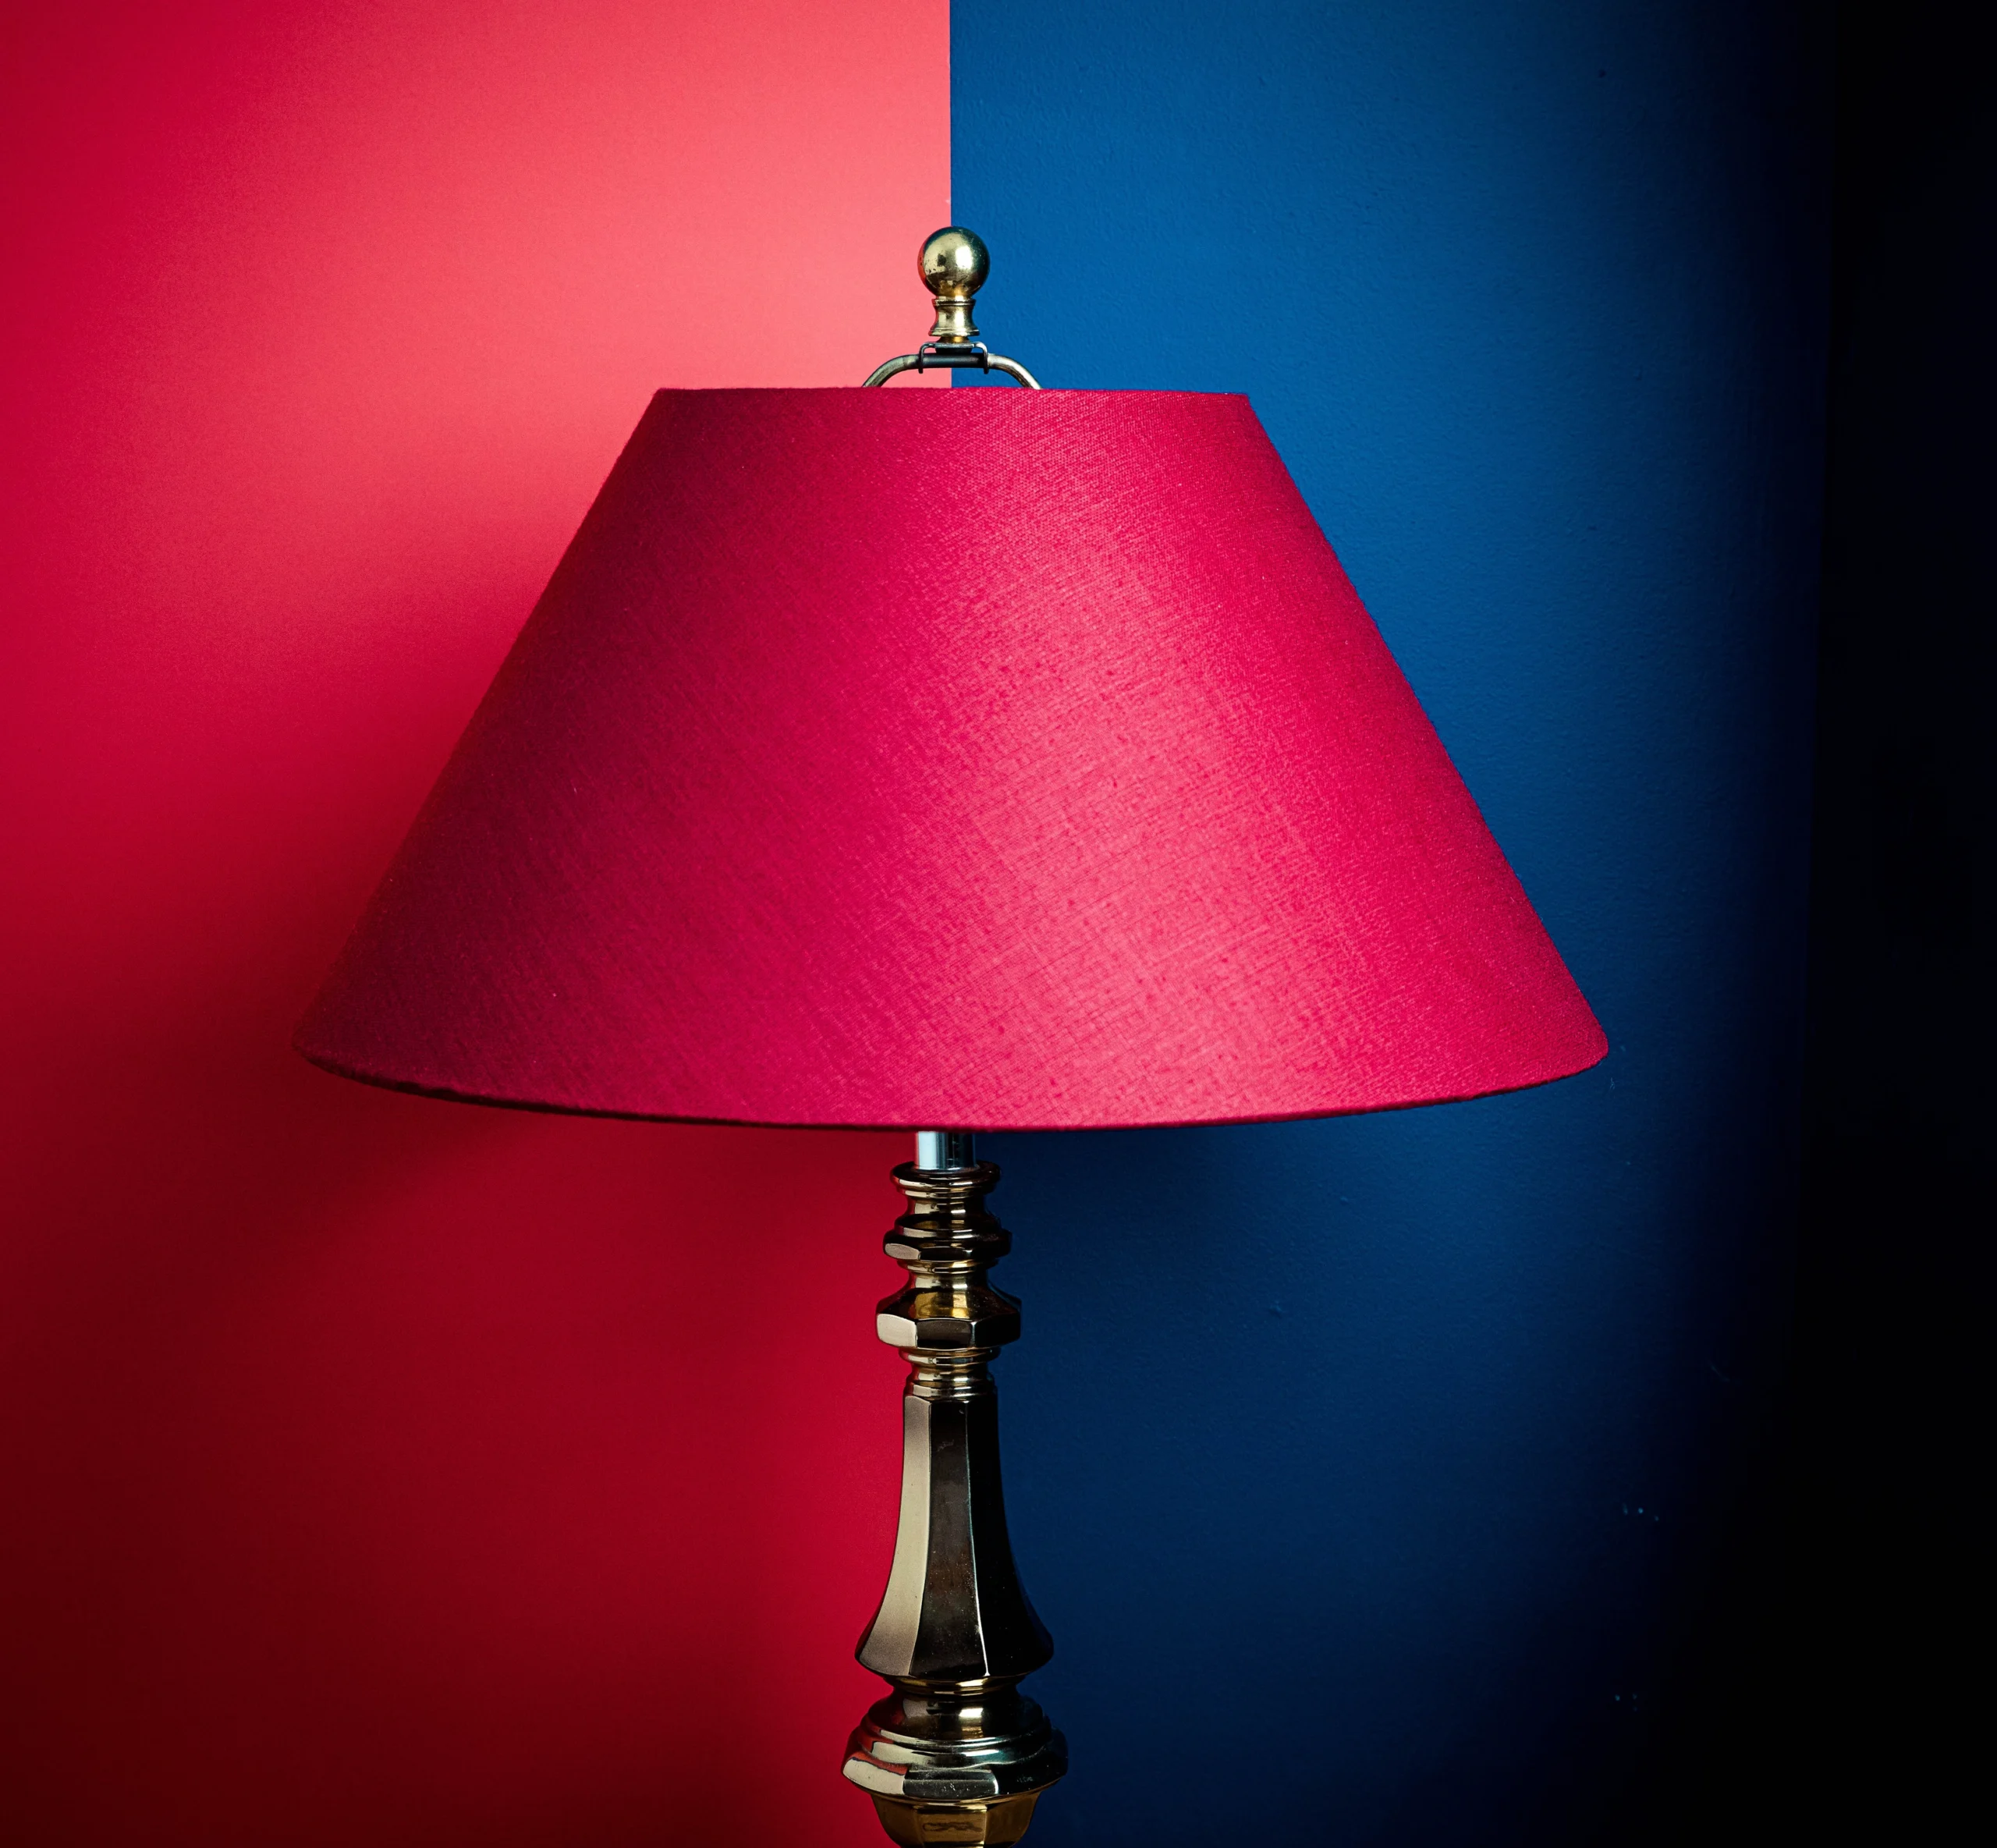
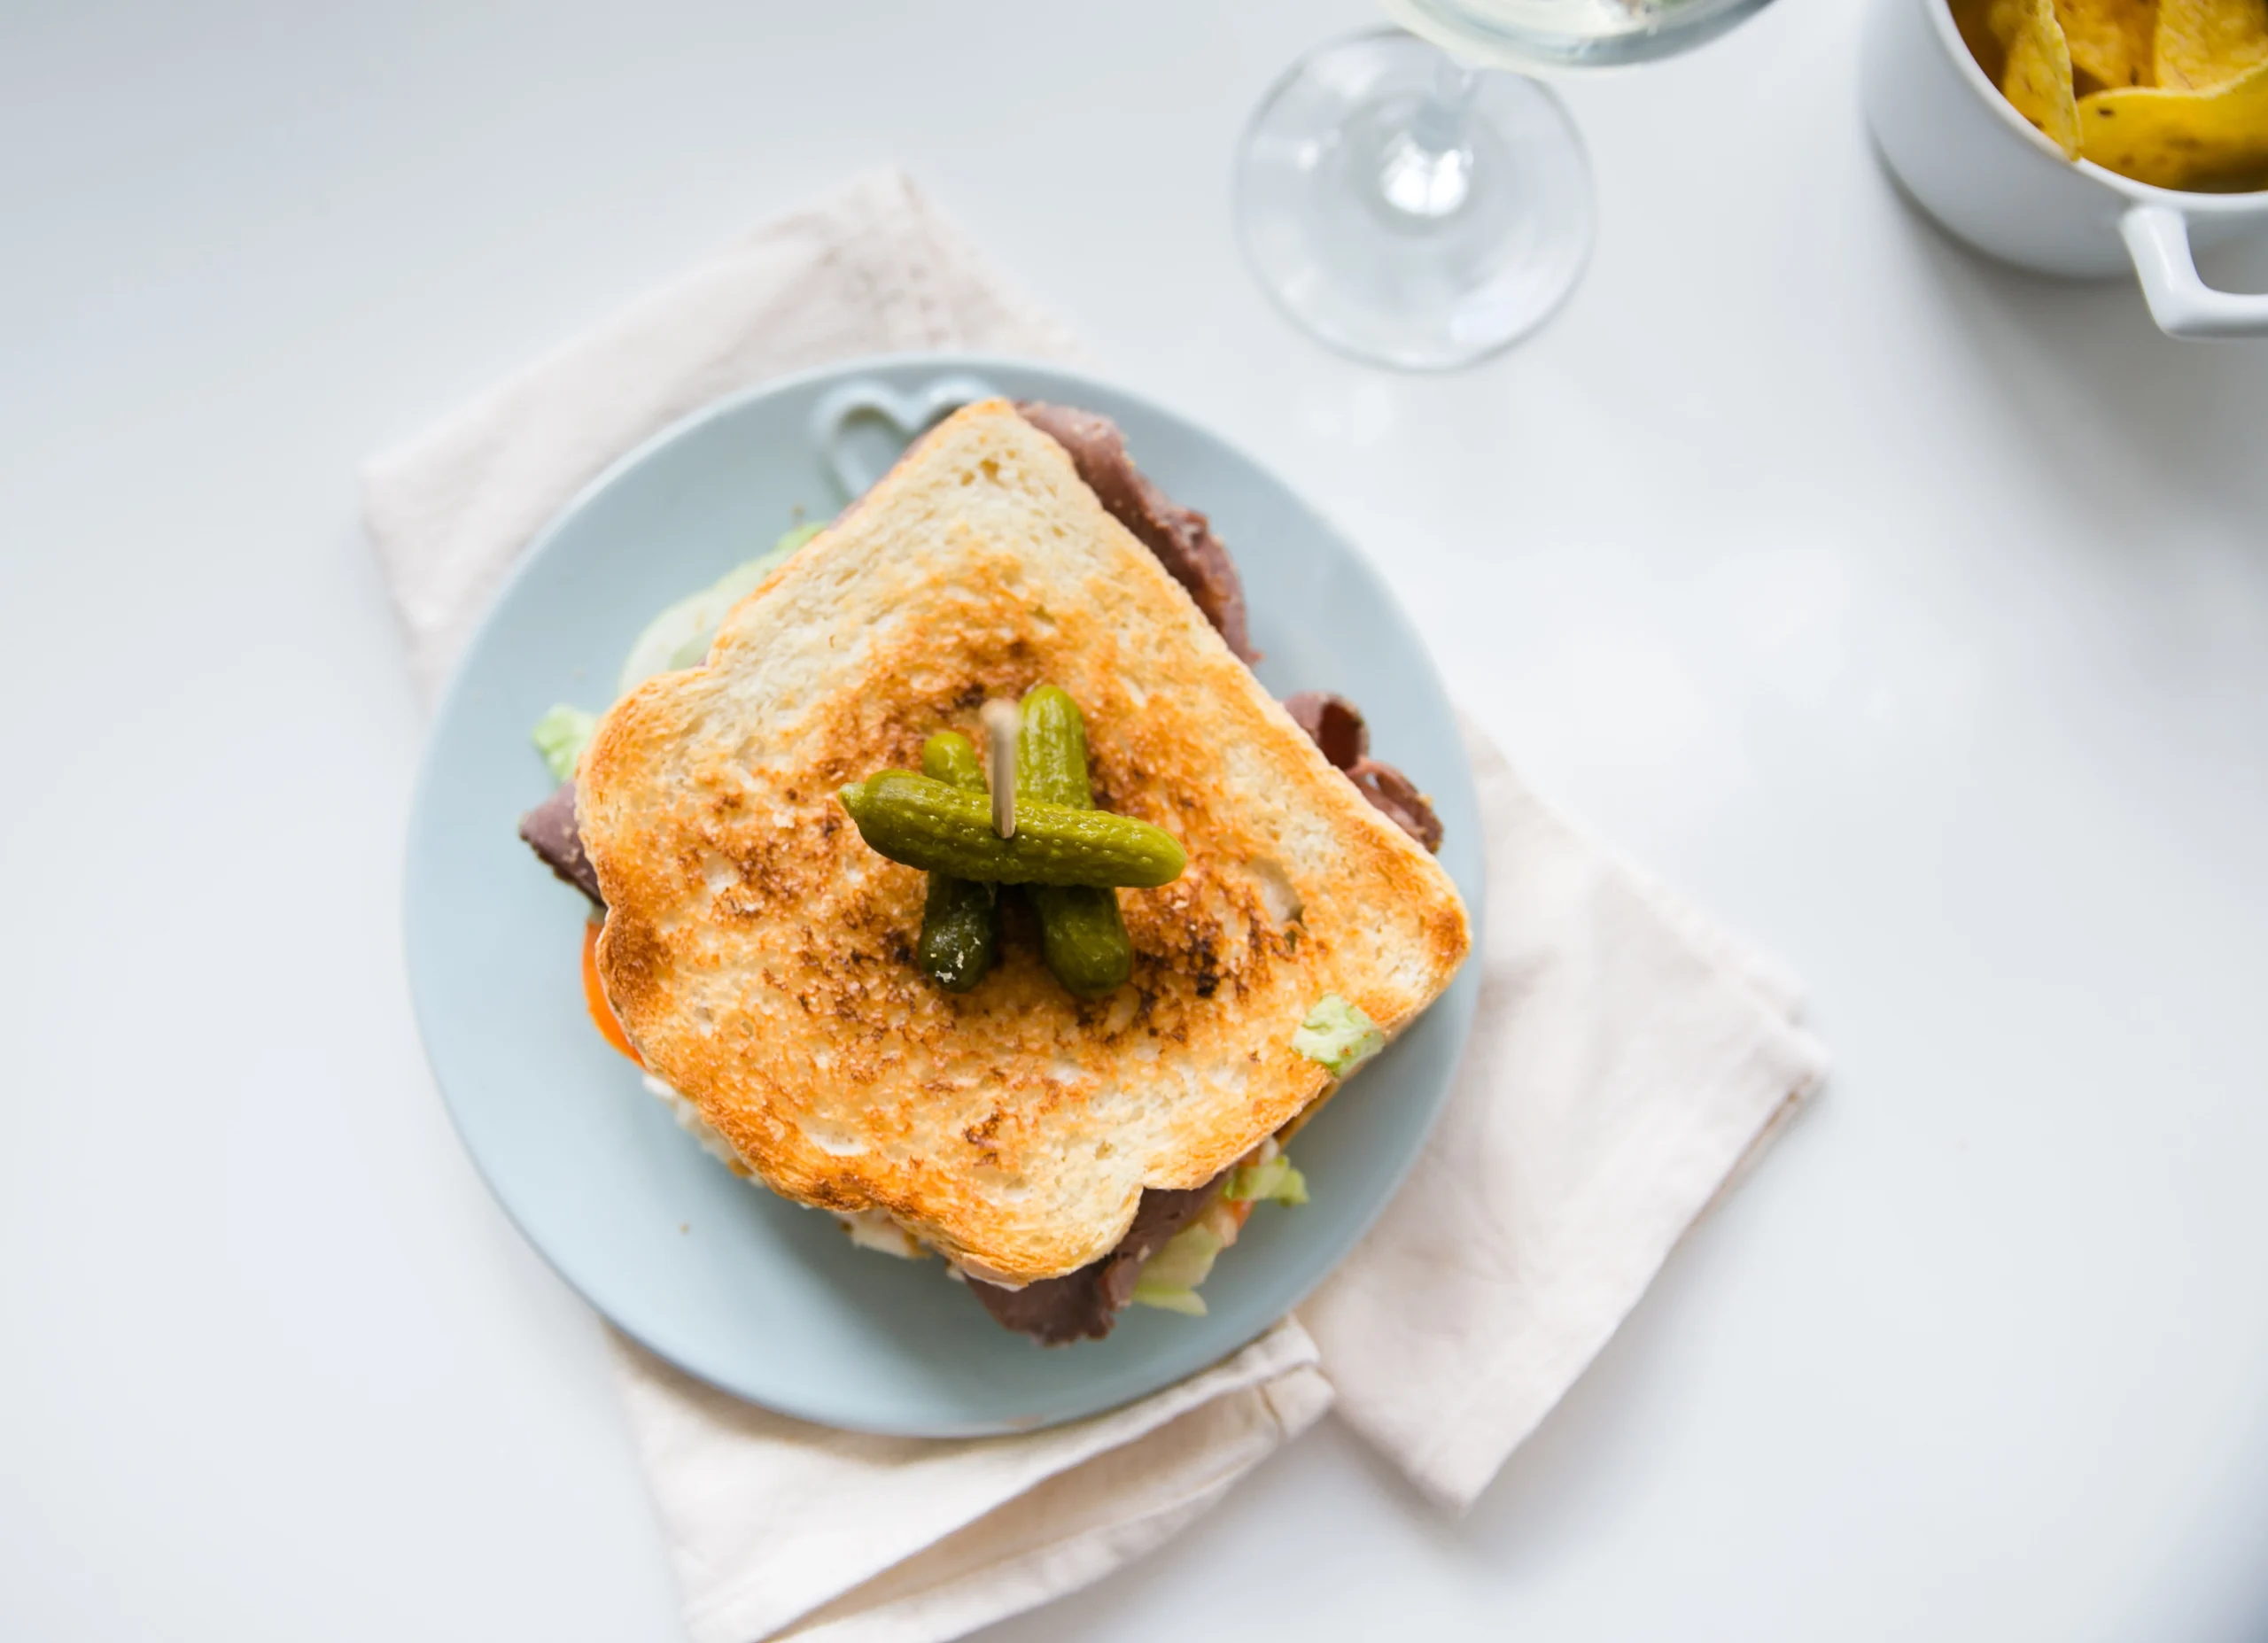
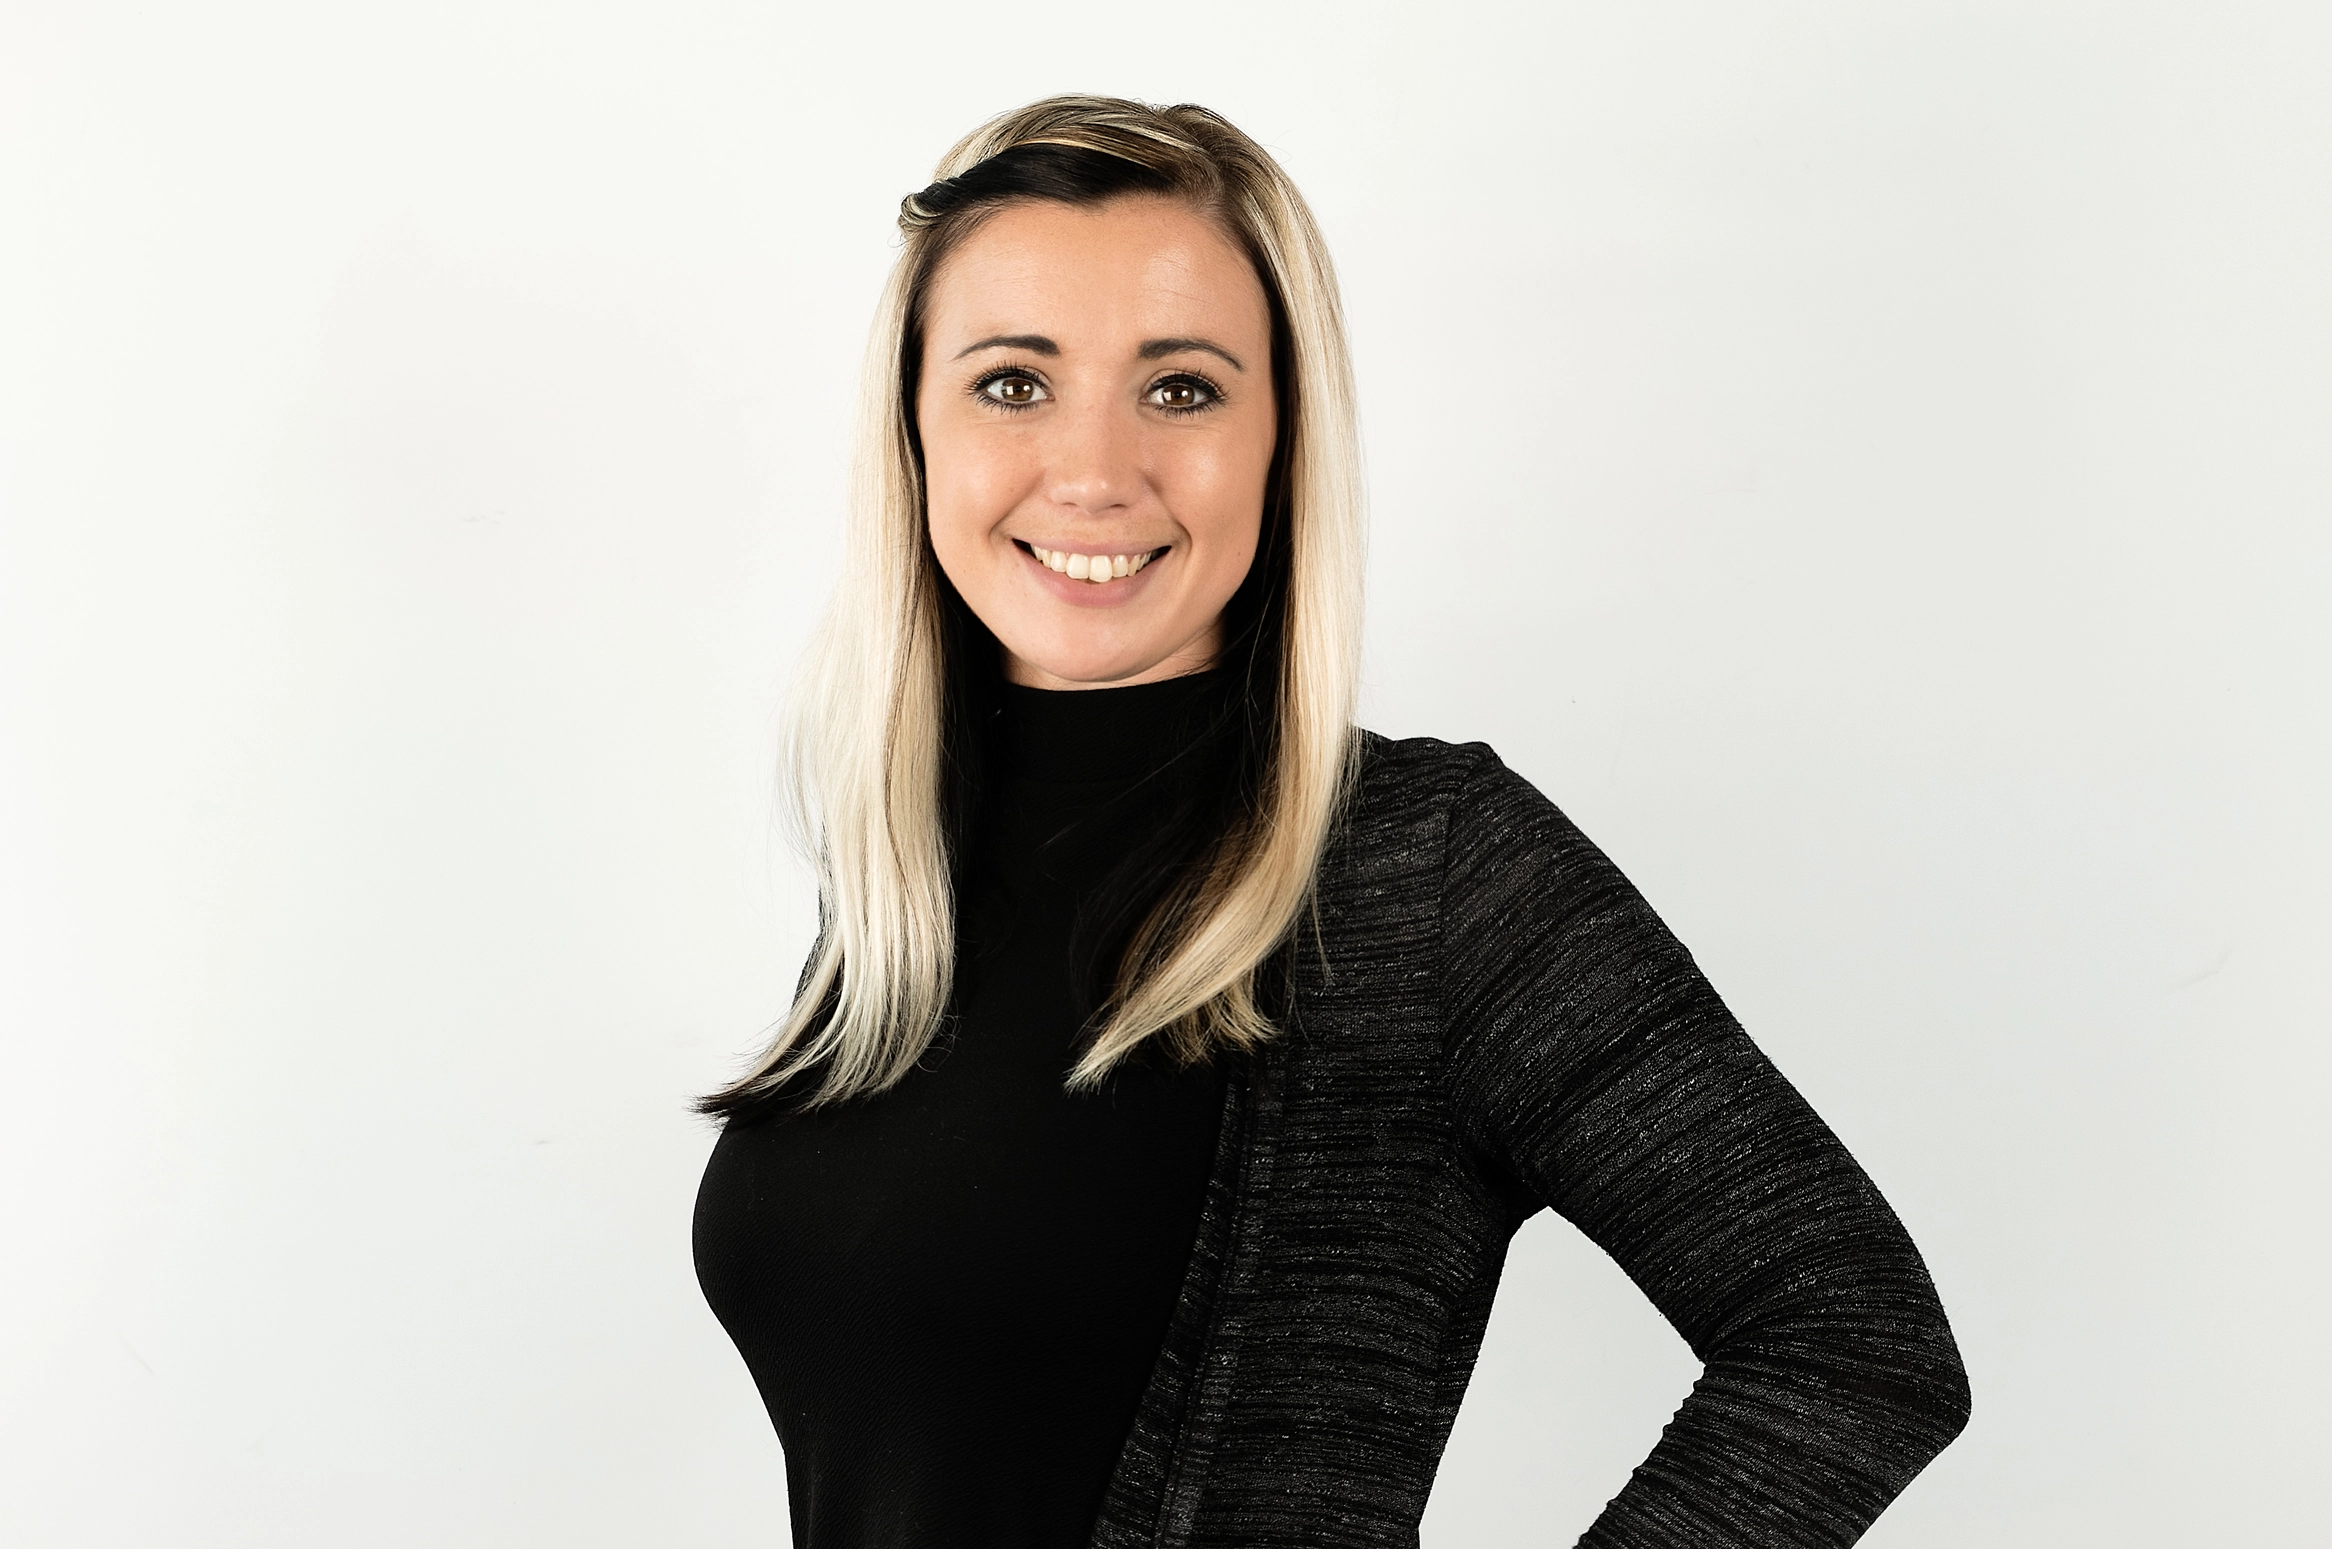
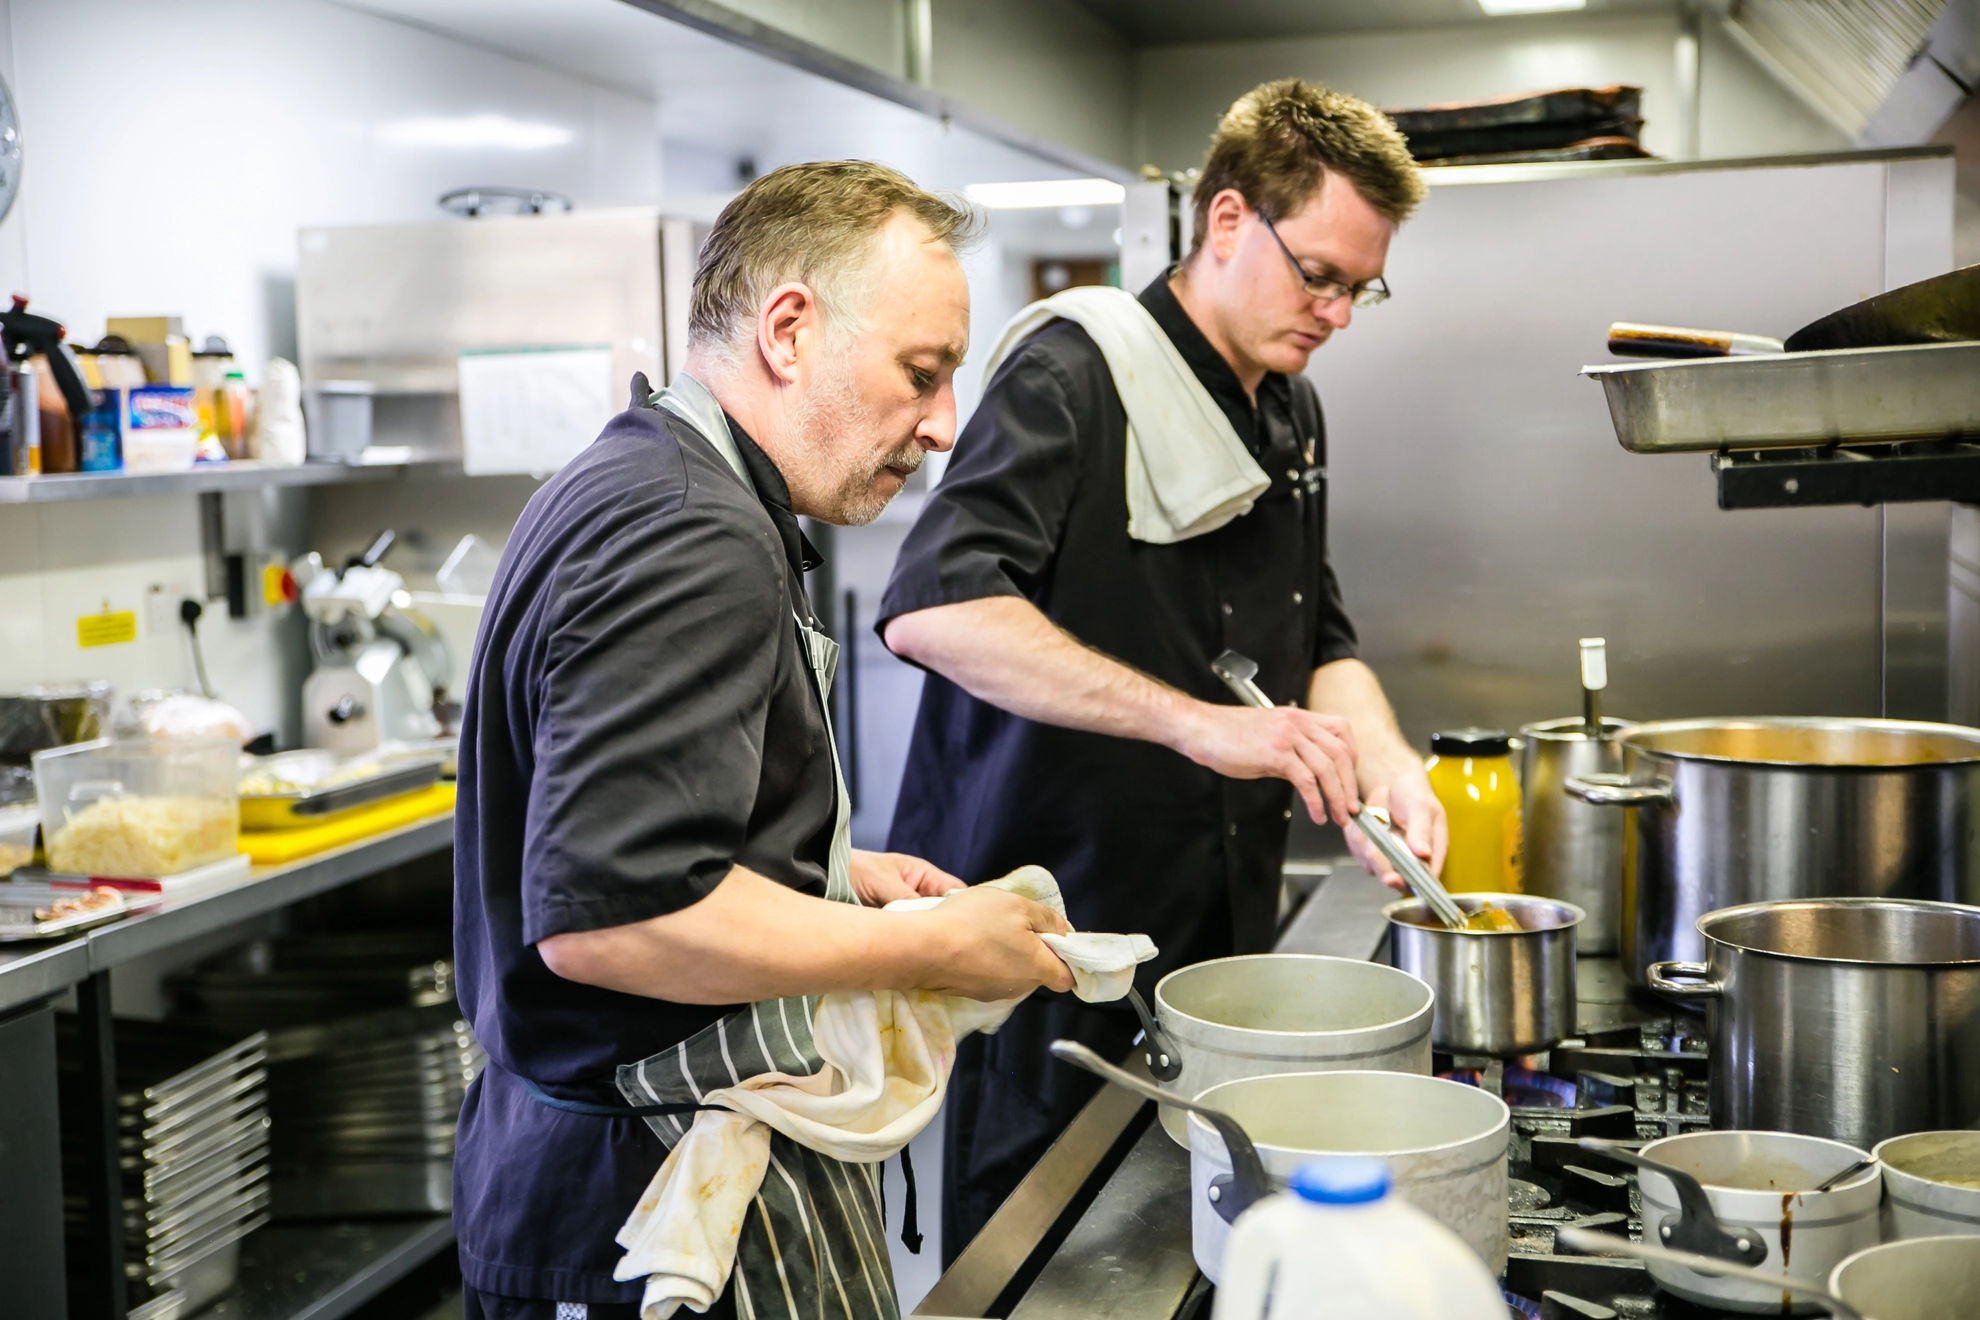
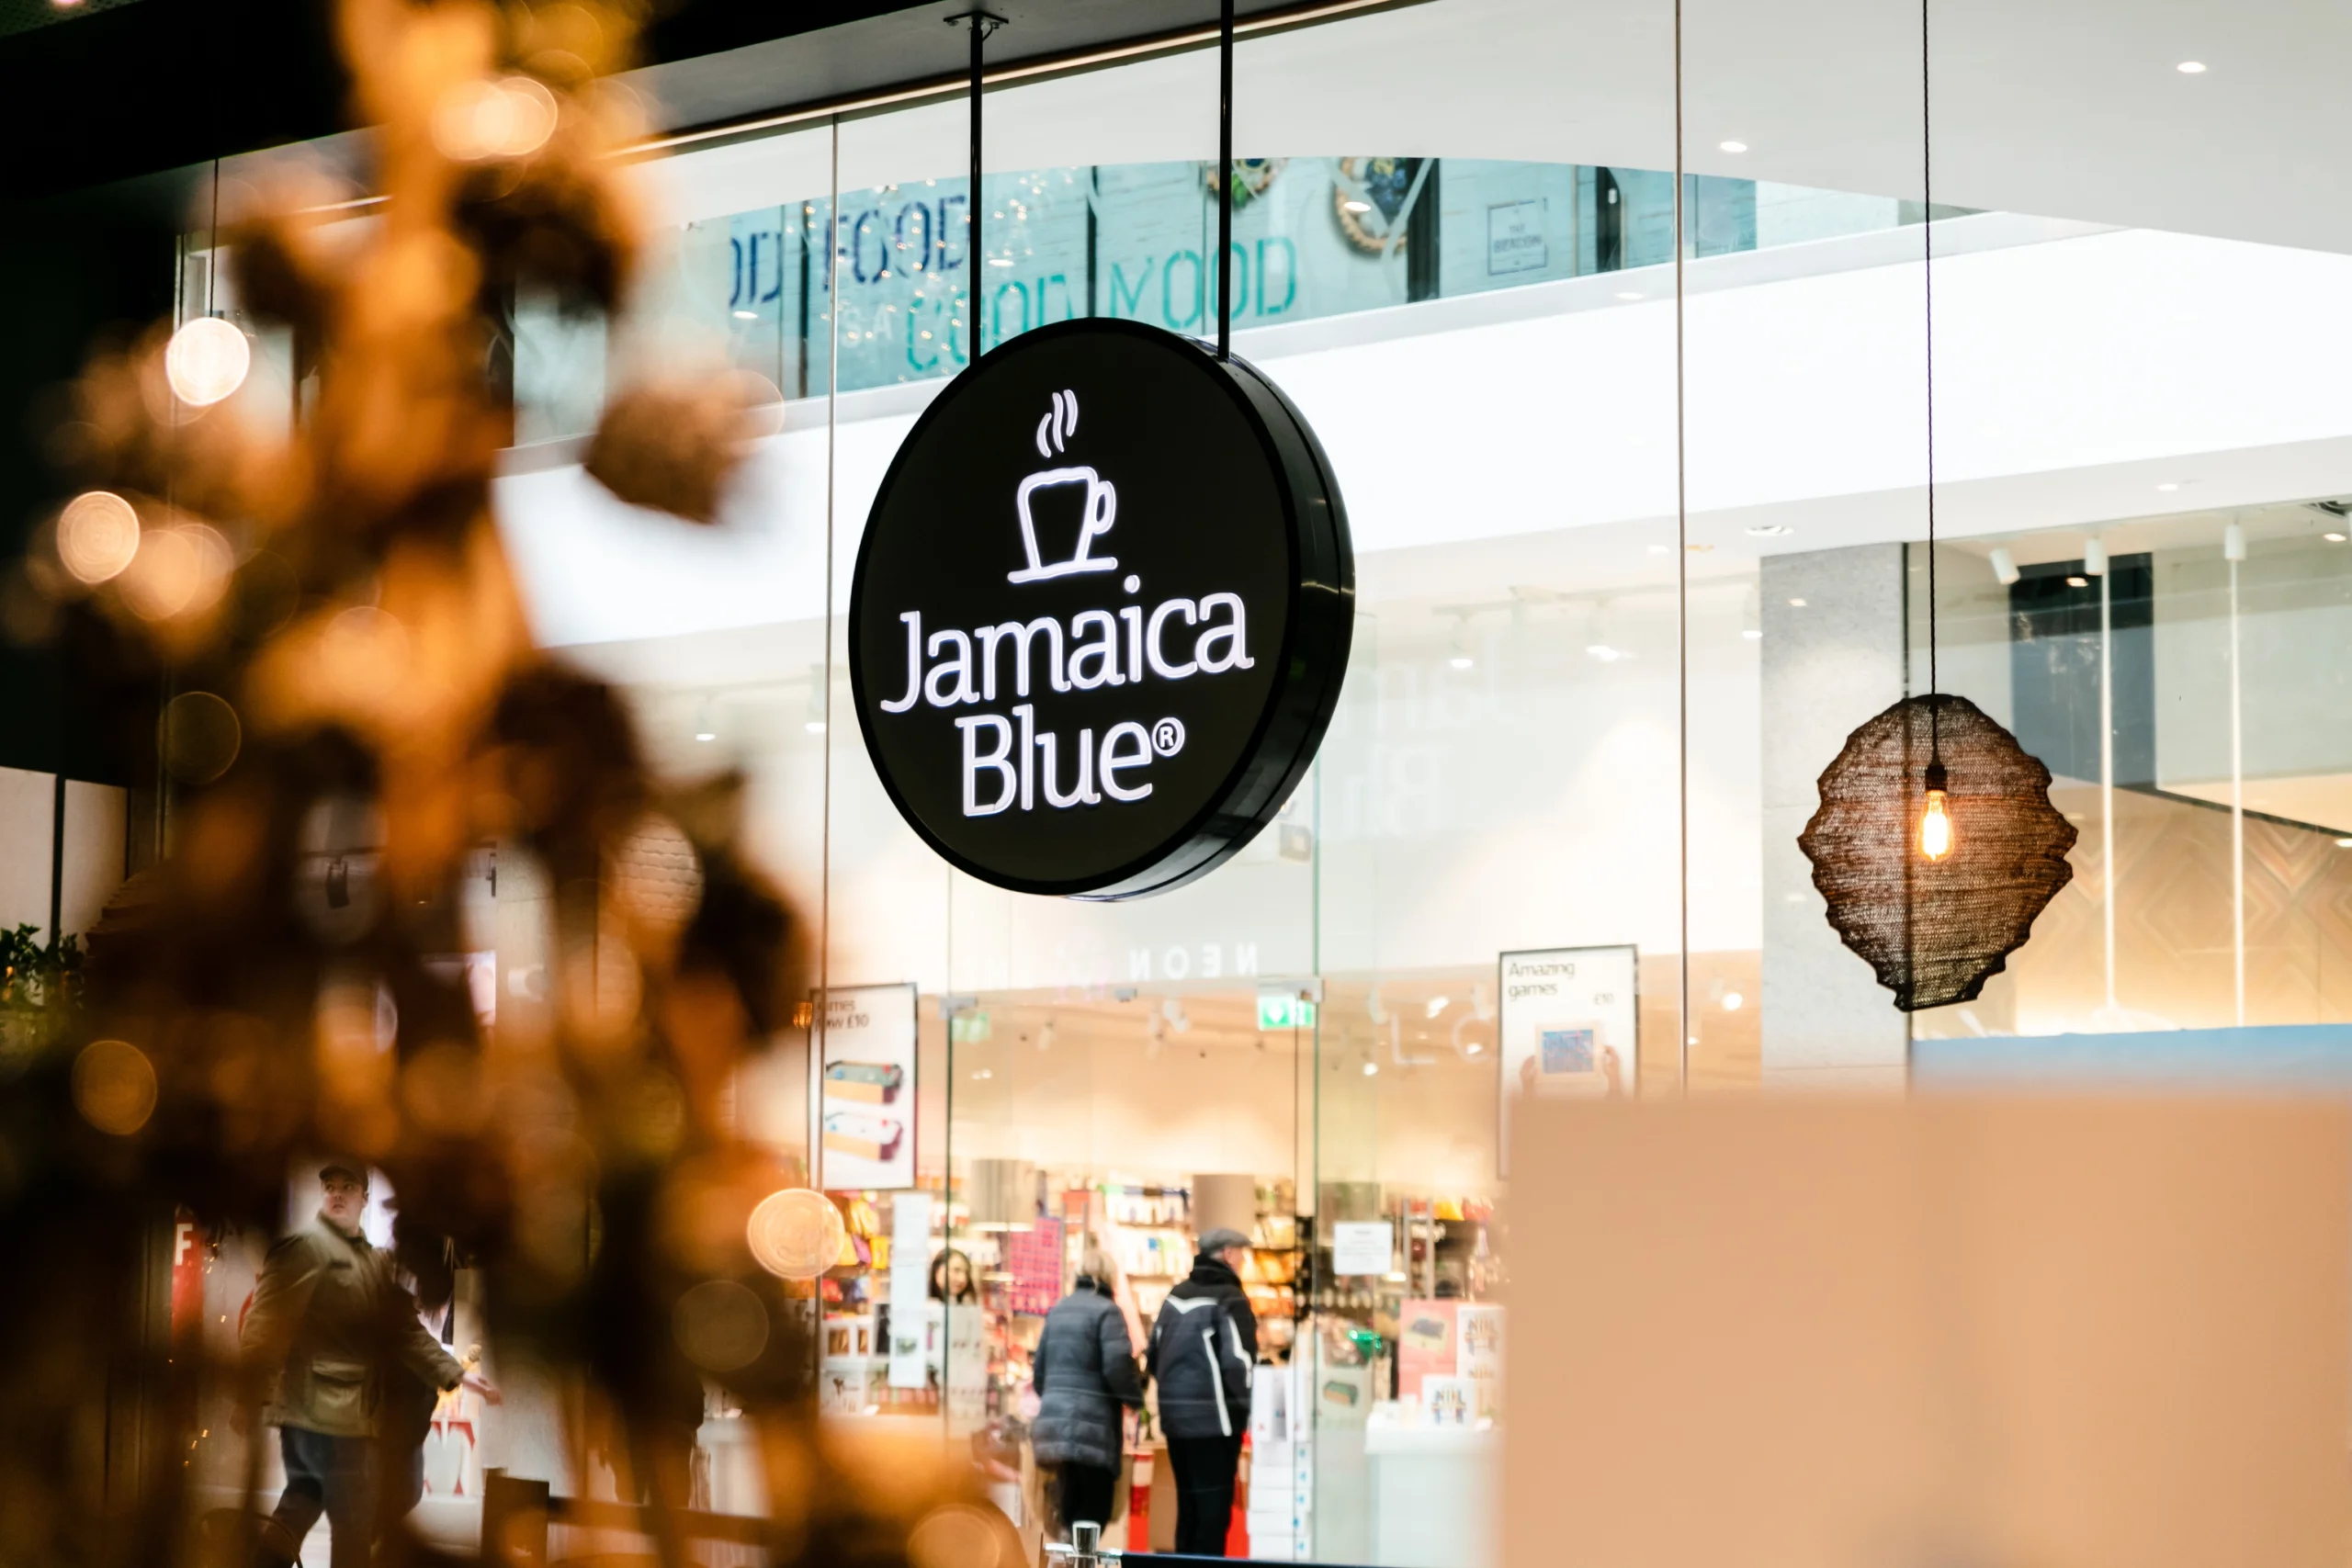
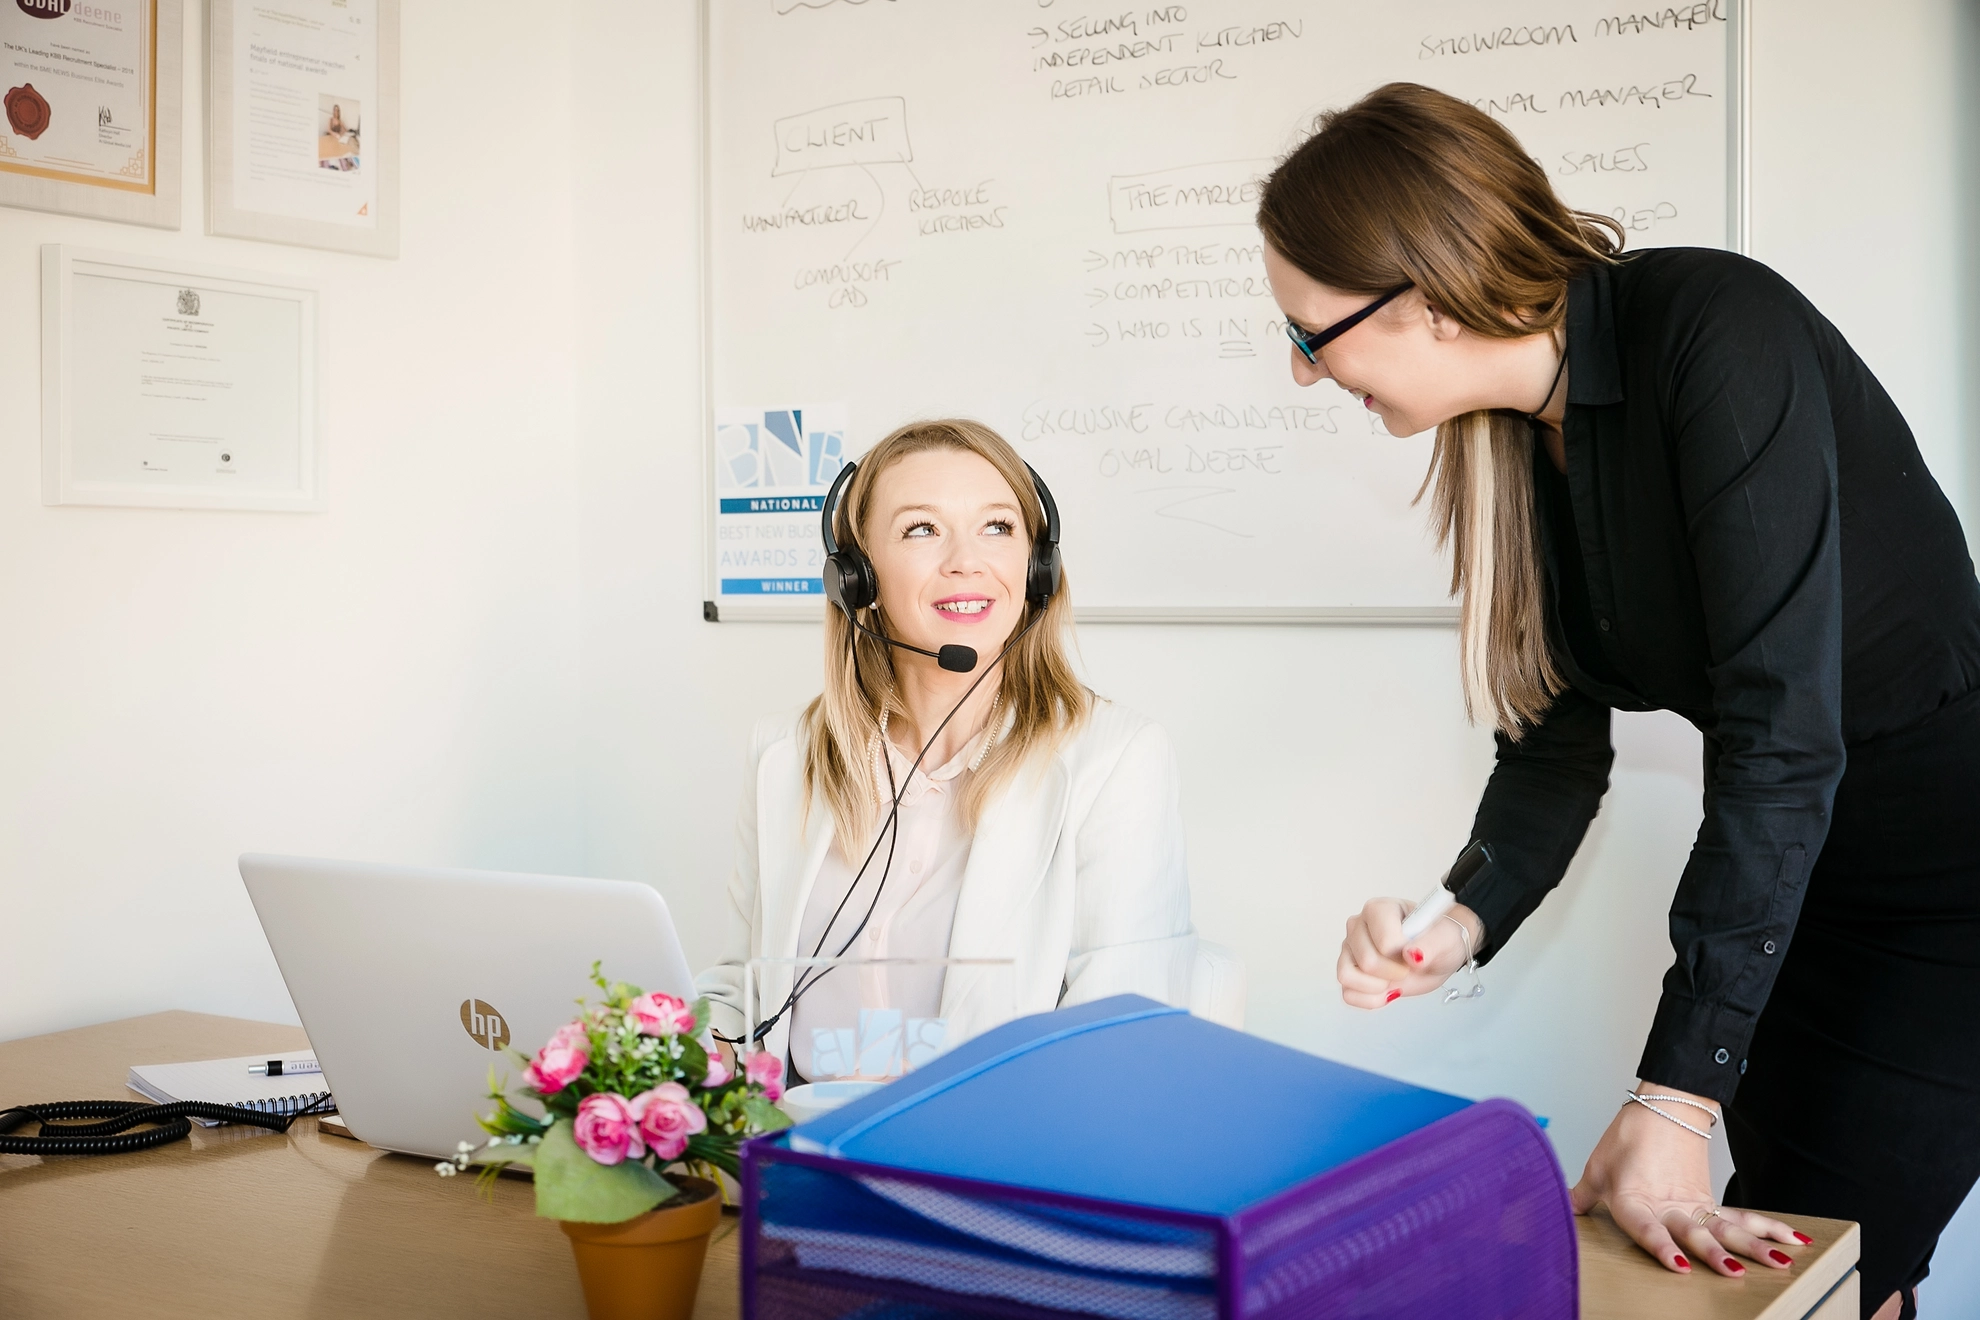
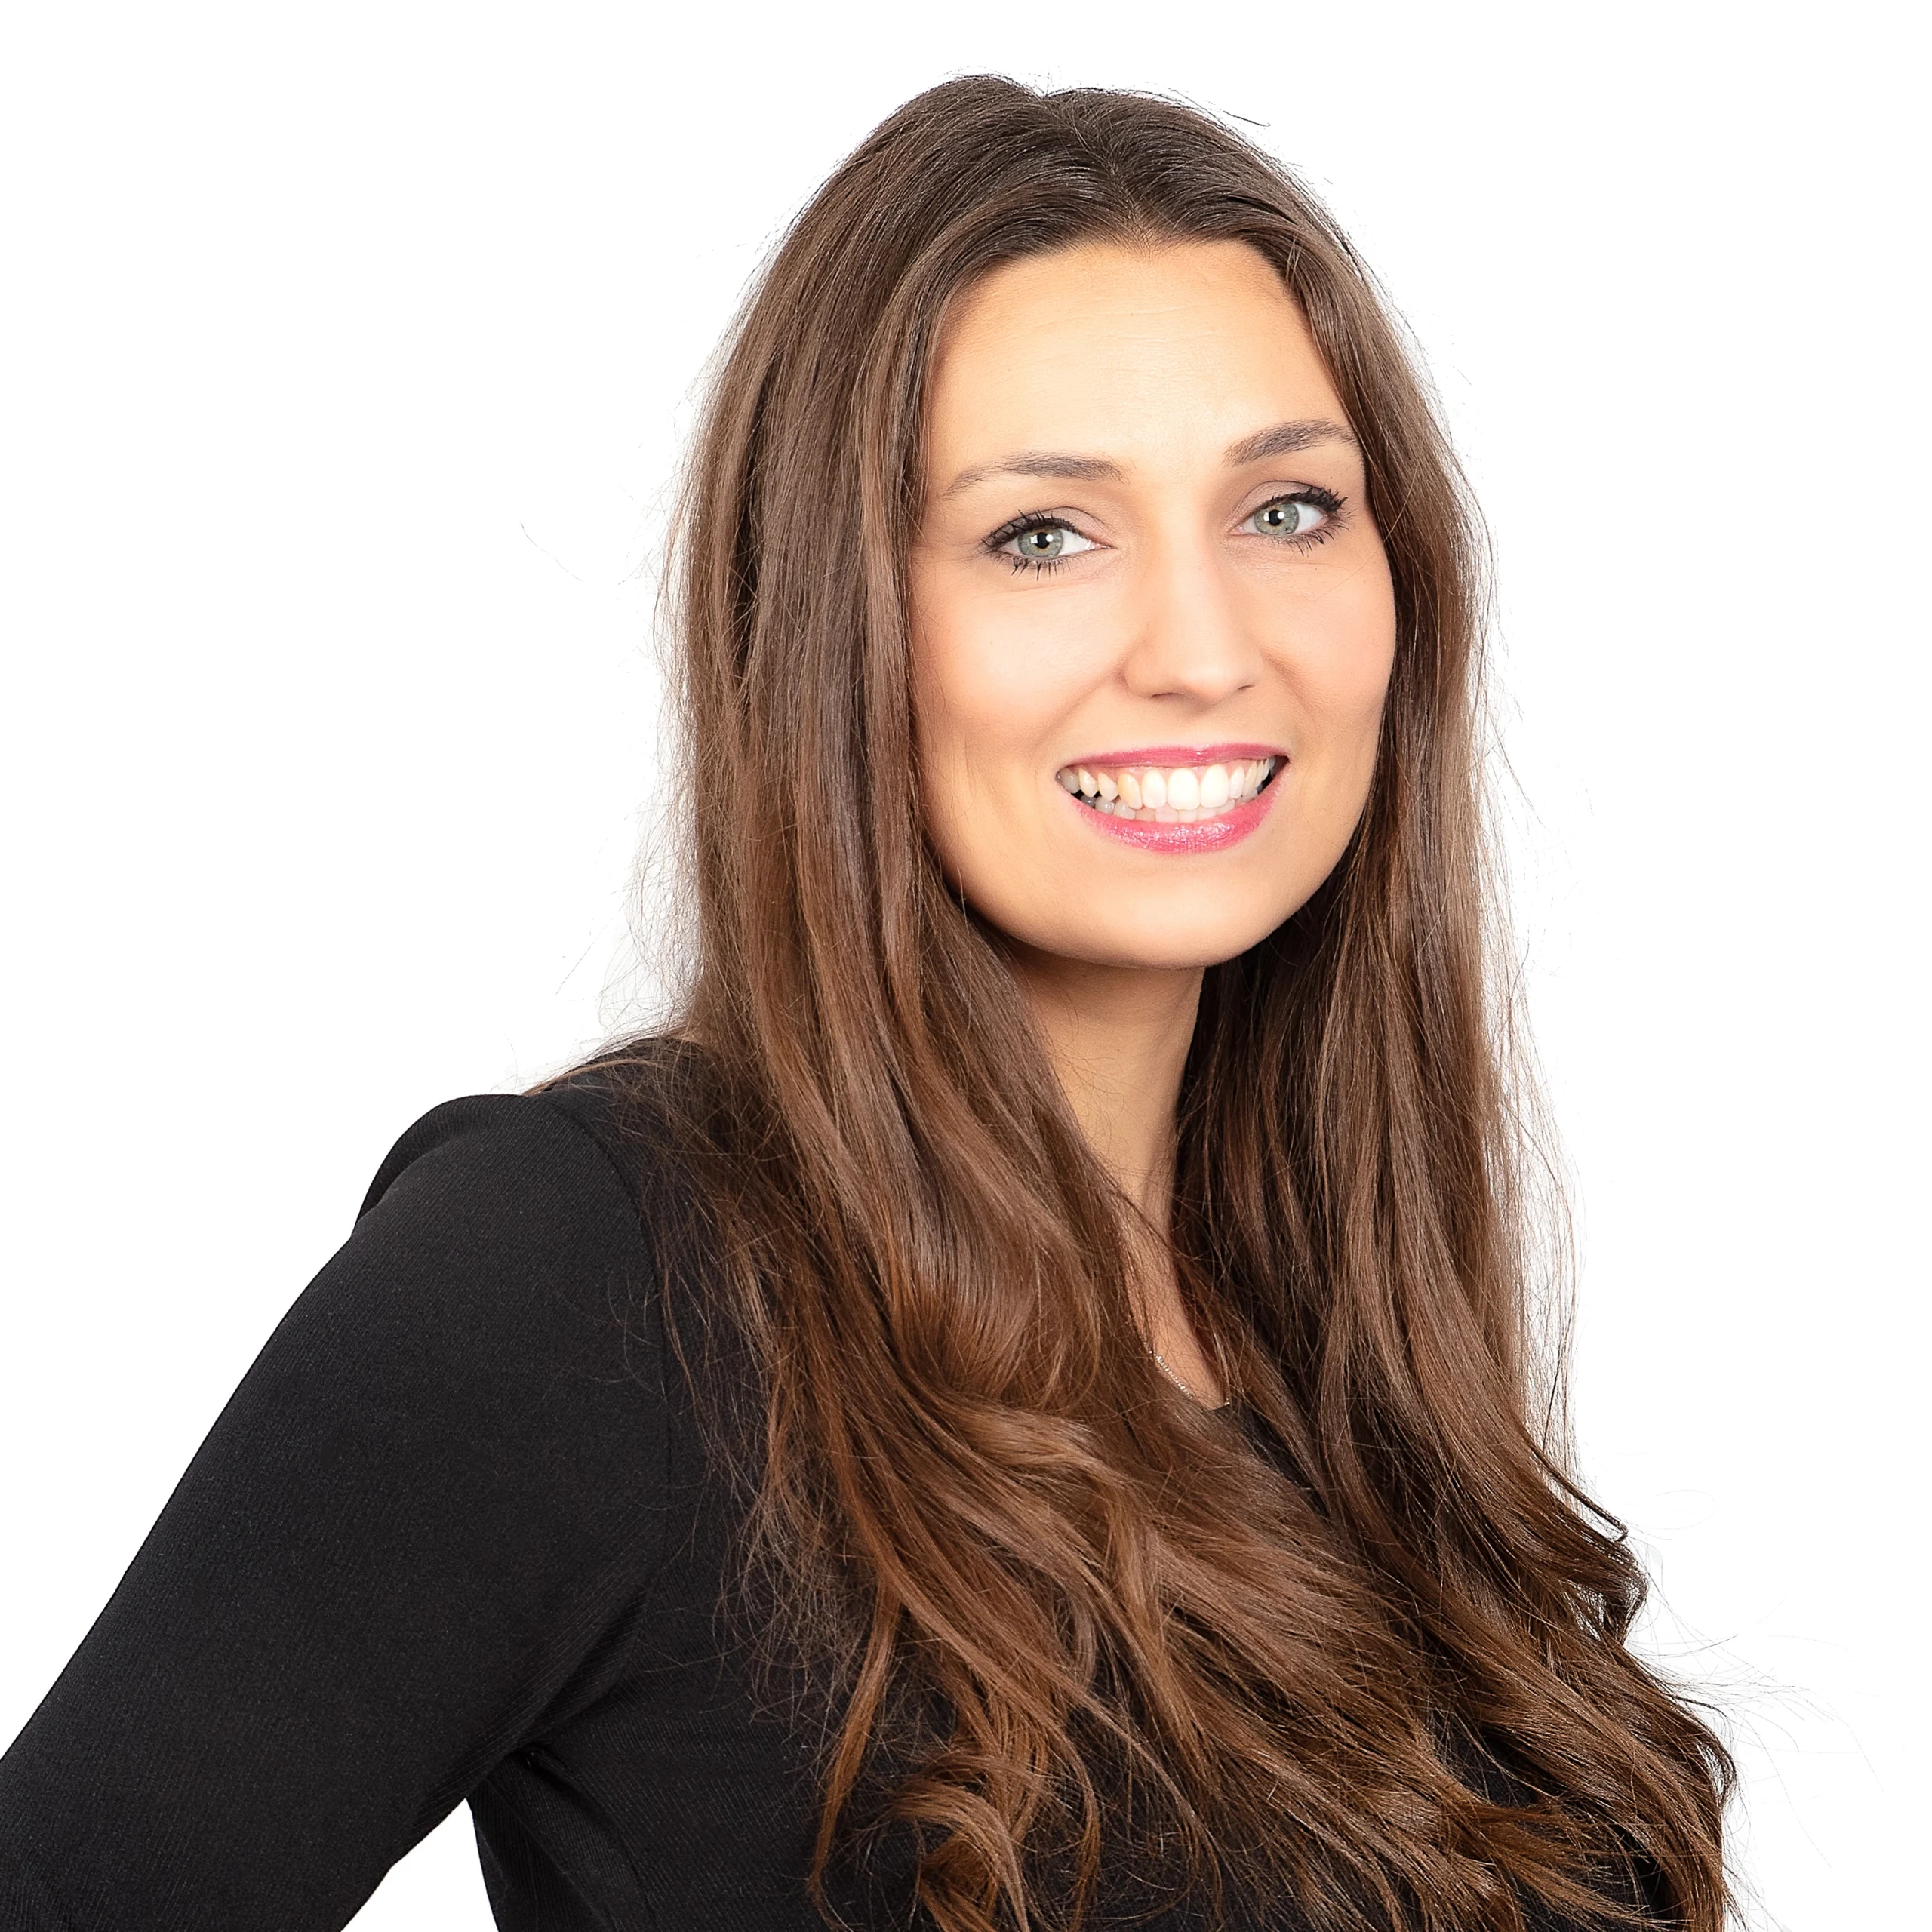
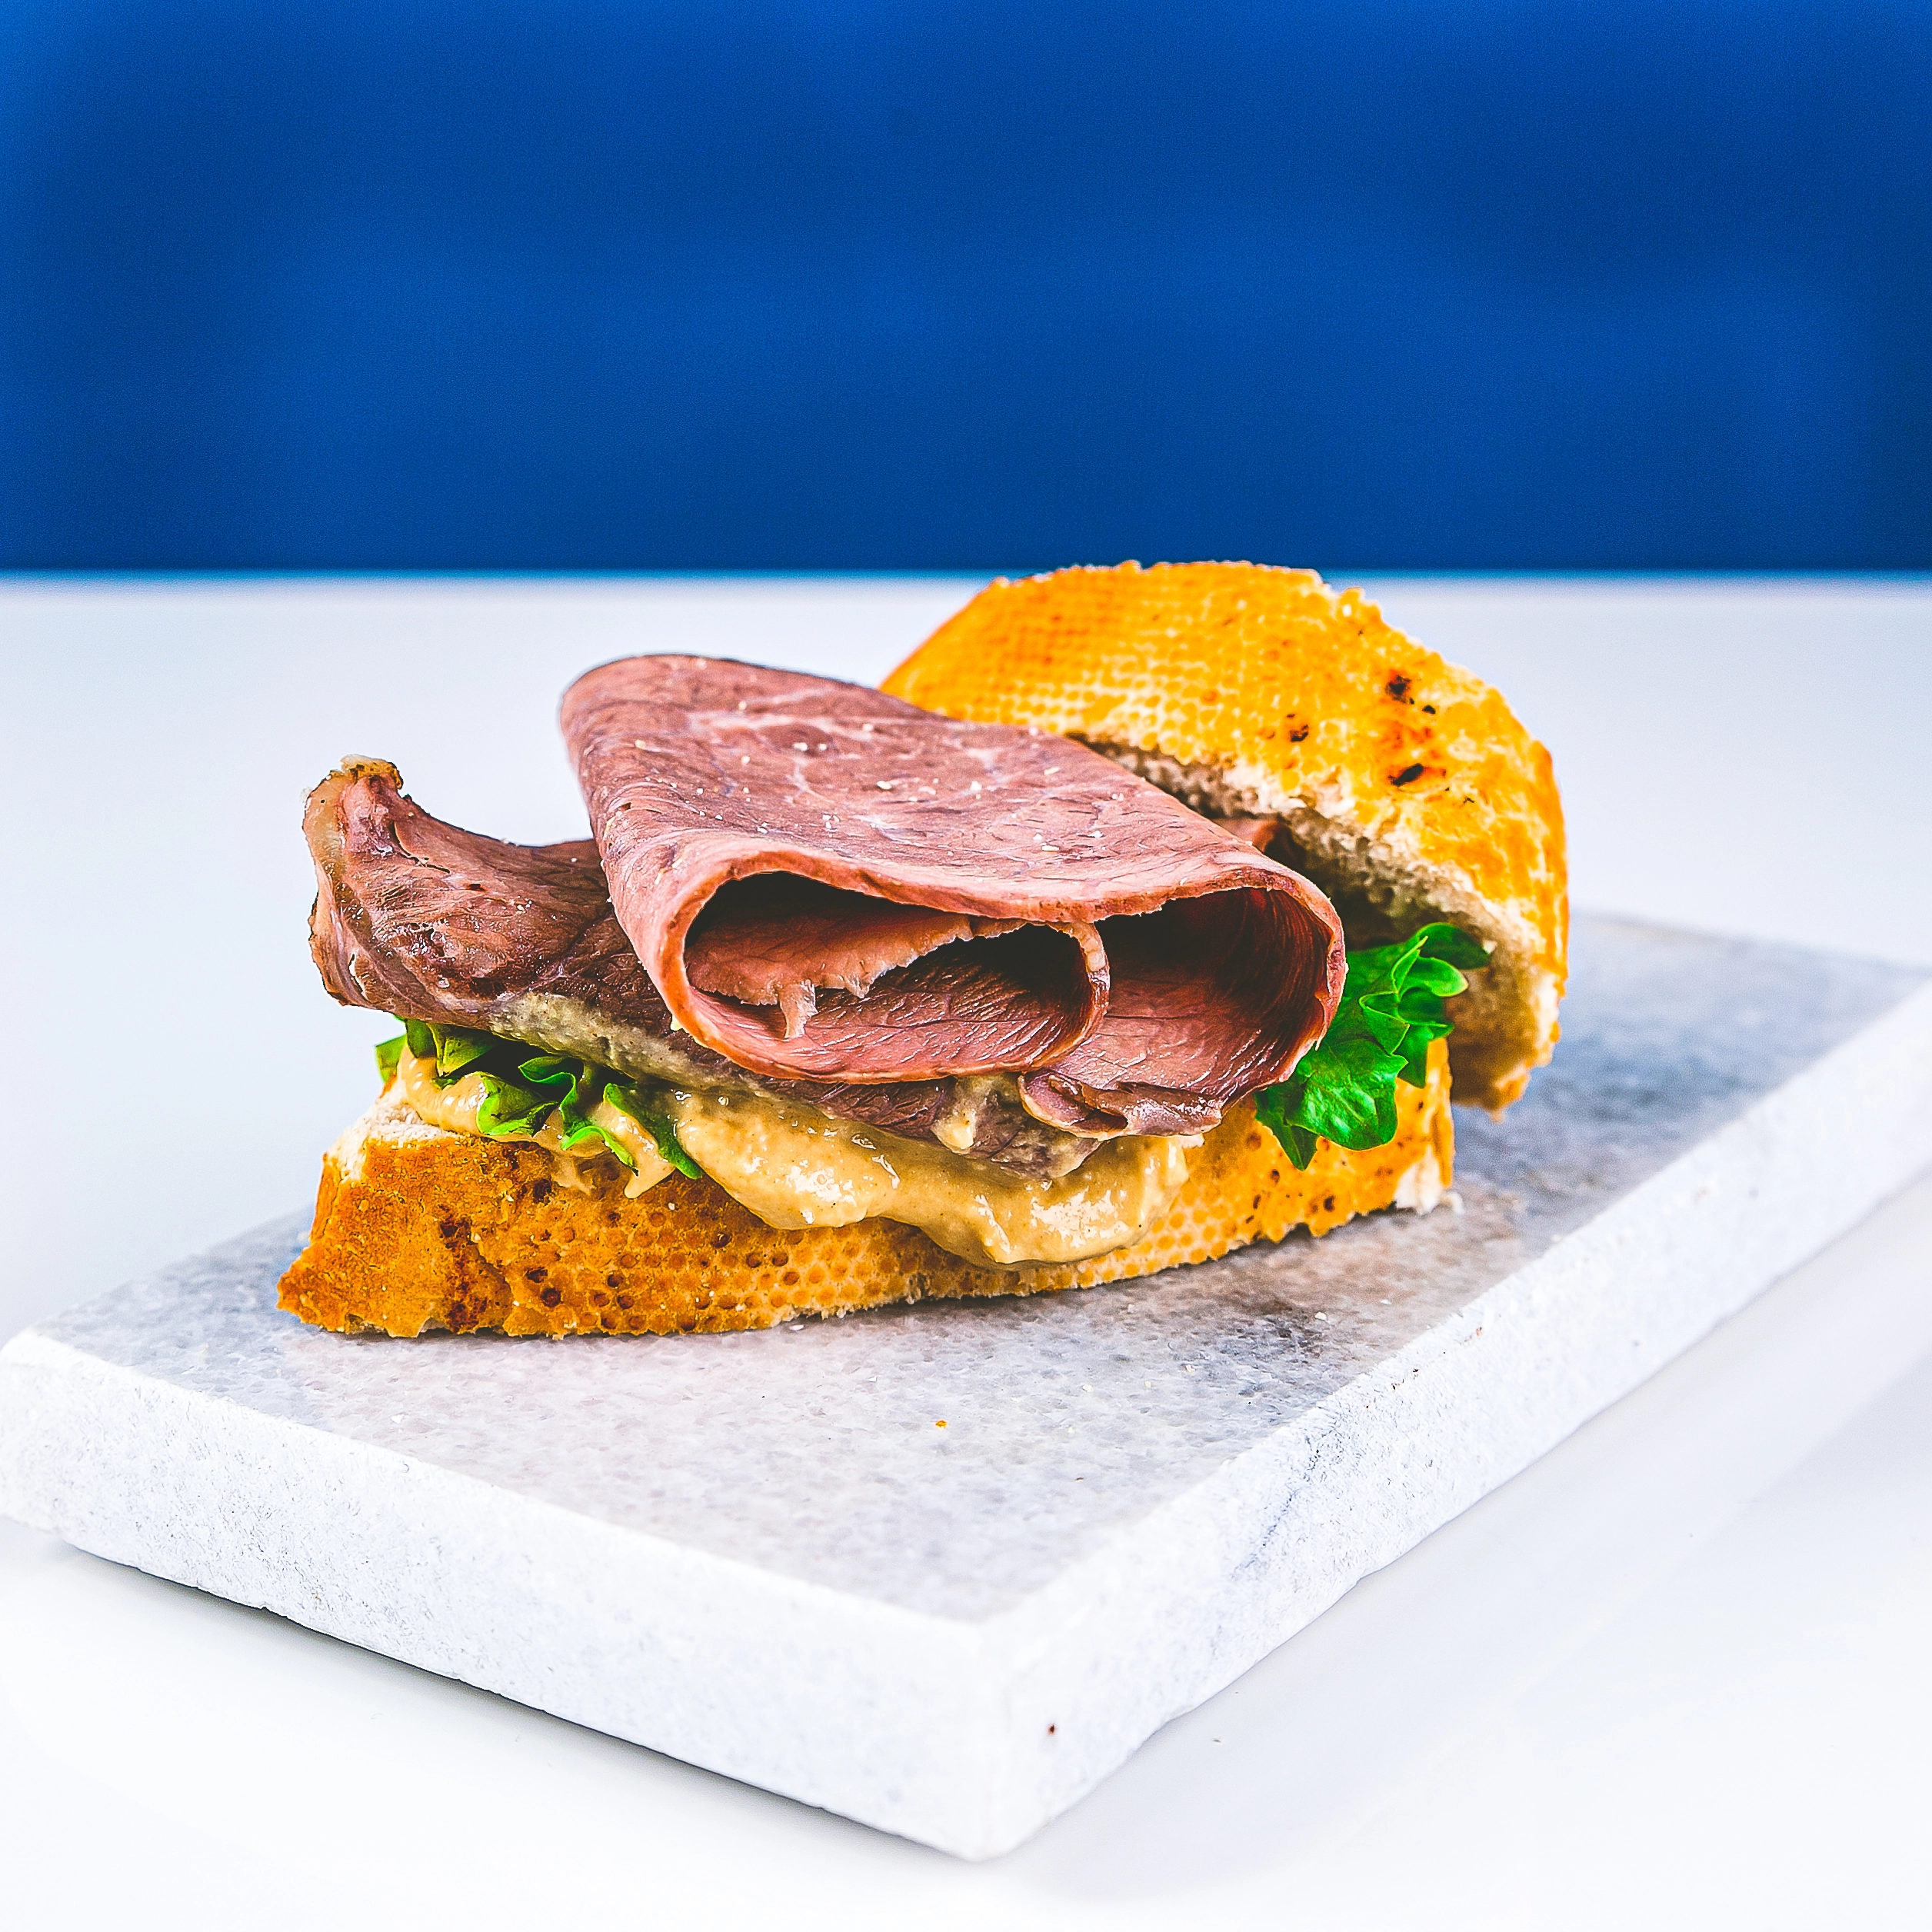
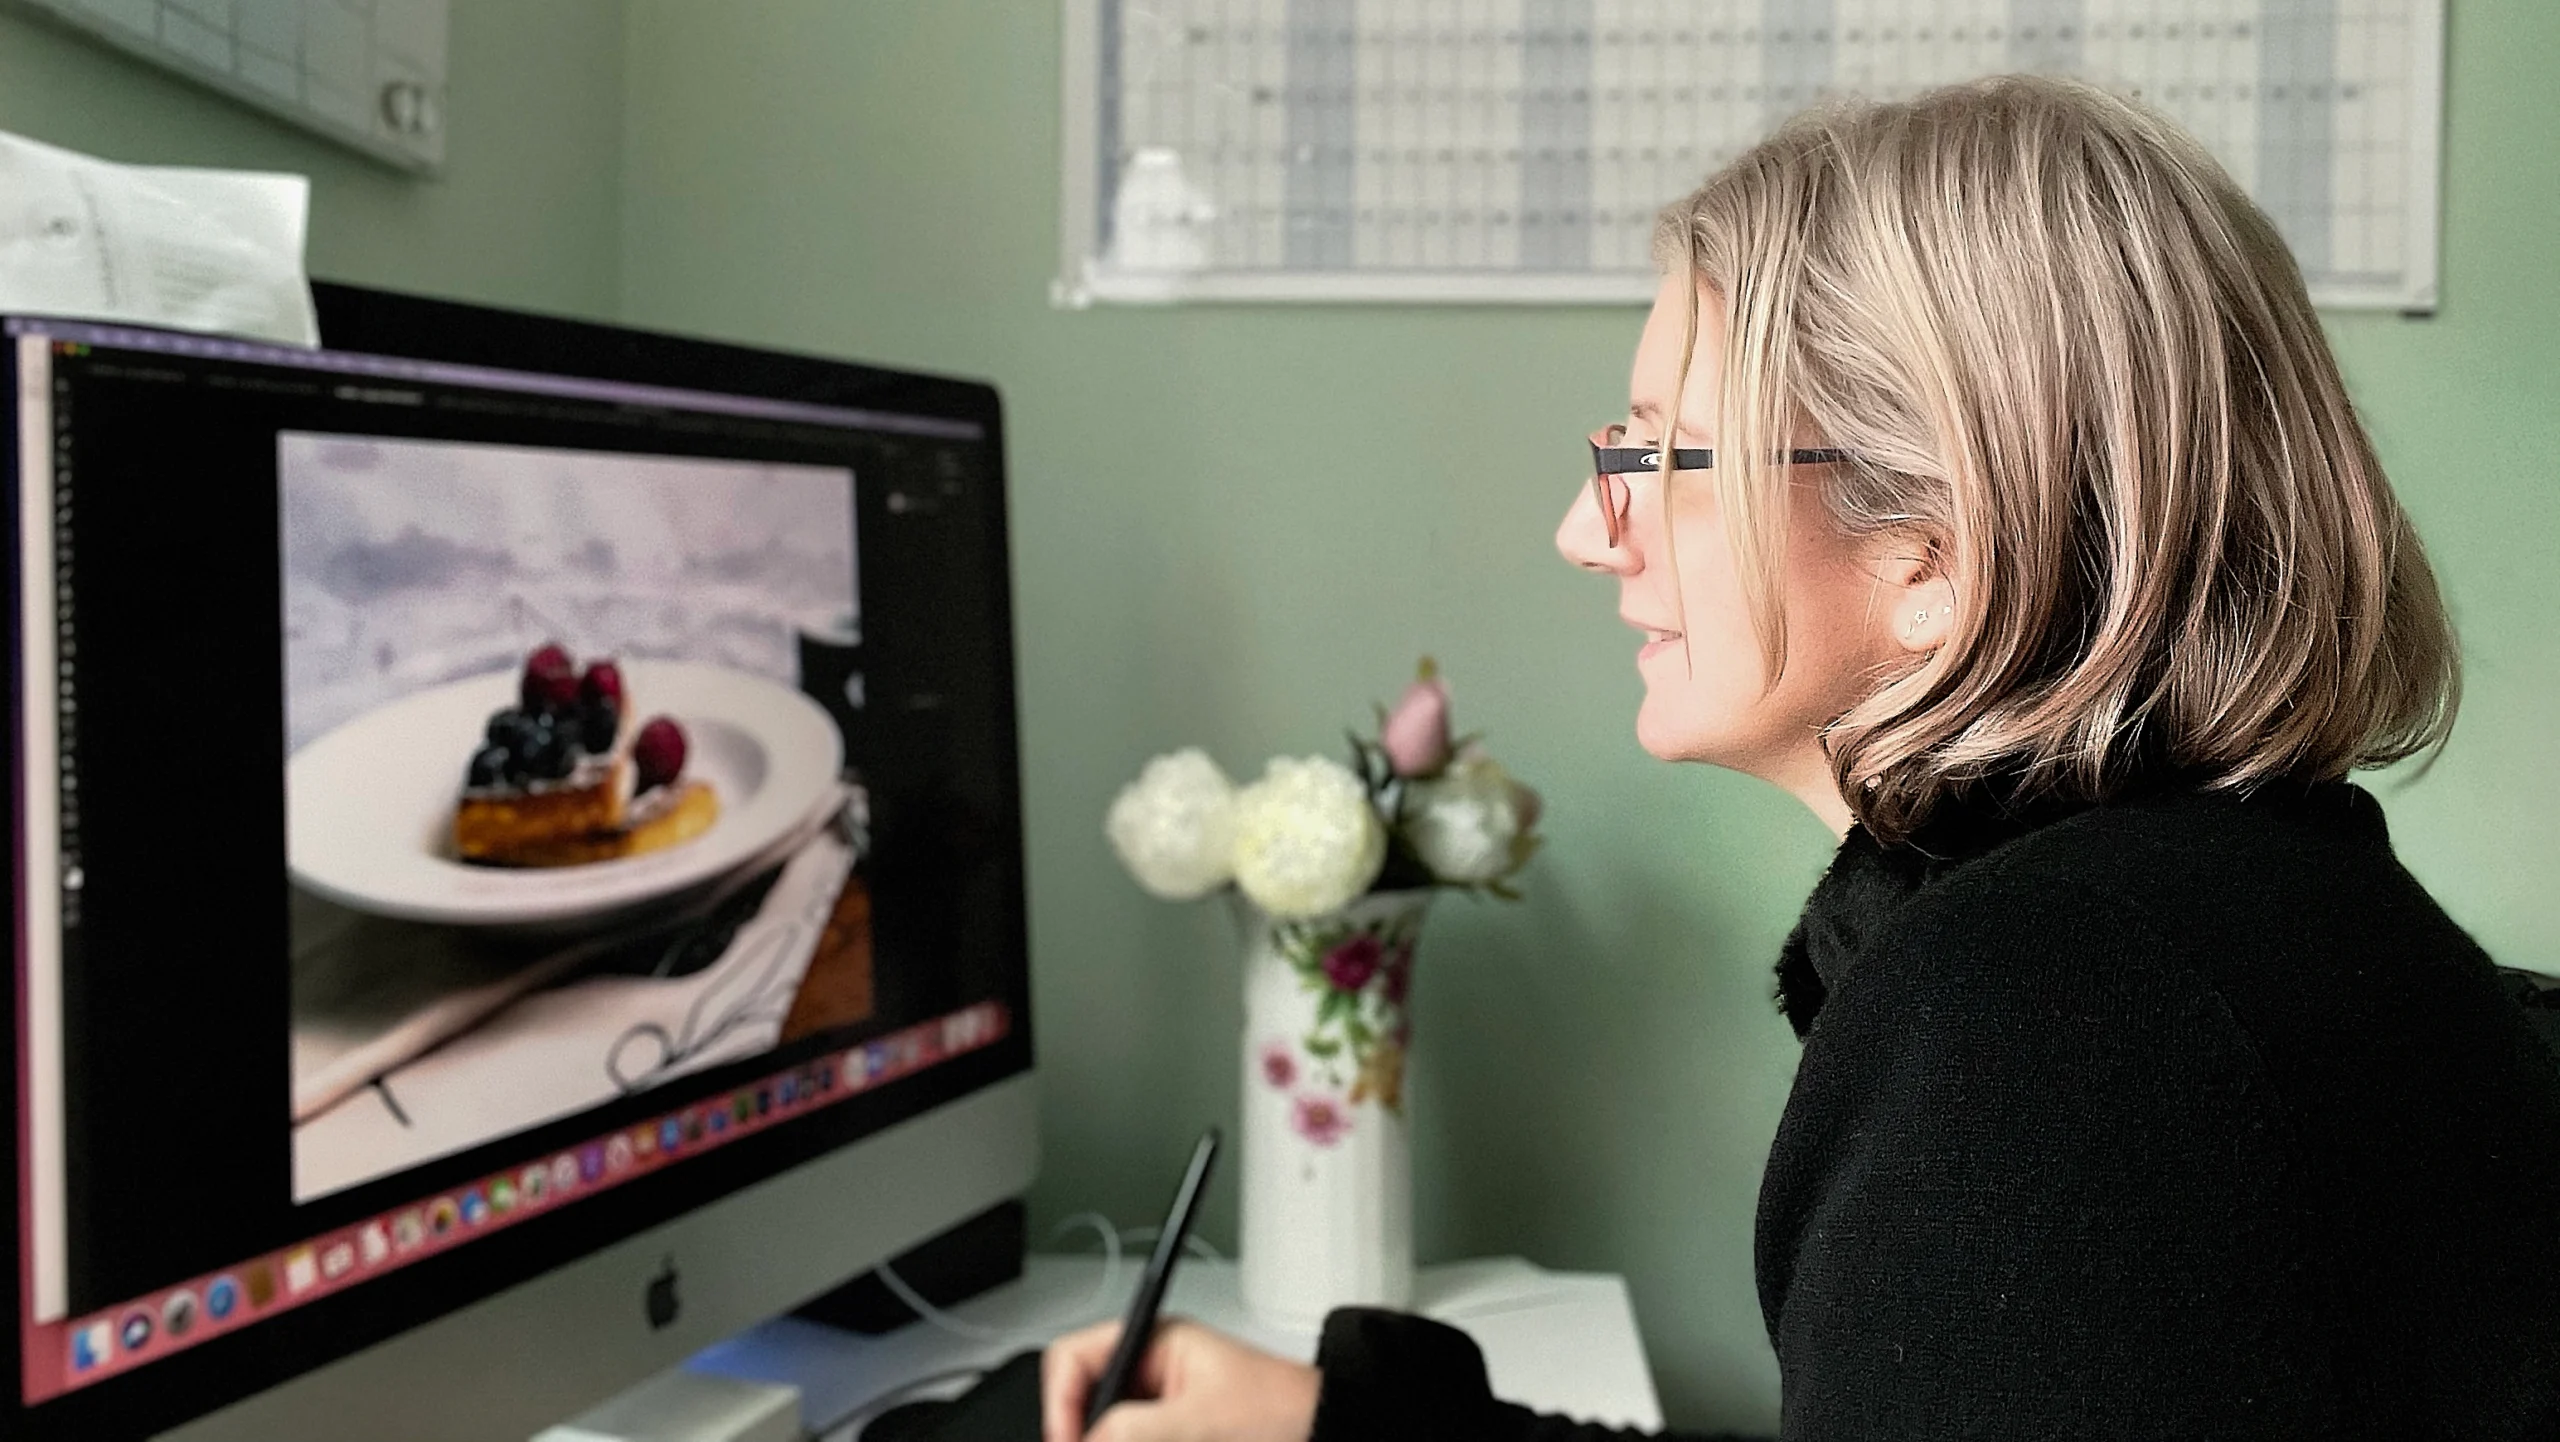
How to shoot a flat lay for your social media feeds


If you’re an Instagram addict, you will have surely seen some amazing flatlays from your favourite feeds, influencers and brands on the social networking platforms. A great flatlay is carefully constructed and pieced together with a purpose to tell a stylish story. So what are the secrets and how do you do it? Here are my top 10 flatlay tips for social media that will make you a pro in no time.

Use a basic background

Opt for a flatlay background that complements the featured products and doesn’t distract the viewer from the main subject. Simple backgrounds, such as tabletops, wooden floorboards, white cardboard, bench tops, marble tiles, shaggy rugs and clean bed sheets work well in almost any situation, so have a look around your home for surfaces to flatlay on.

Shoot in natural light

The number one rule of flatlay images is to always shoot in natural light, either in the morning or afternoon as the midday light is quite harsh. Natural light is best because it does not create shadows, so shoot somewhere that is drenched in natural light, perhaps near a large window or glass doors. Try different places around your home and office until you find a place that gives you the best natural lighting. Use a tulle curtain or a white sheer shower curtain to diffuse the light from the window to soften the image.

Leave space between each object

To ensure your flatlay is not cluttered and chaotic, leave space between each product. The space doesn’t have to be big, but it needs to be enough to balance out the image.

Pick a theme

The theme is important because your flatlay should tell a story or describe a moment in time, so ensure every piece of the flatlay helps to tell the story and is in line with the overall theme. The theme could be anything, from travel, fashion, beauty and food to ‘a day in the life’ or ‘what’s in my bag.’ Whatever the case, use products that naturally go well together and would be seen in the same scene.

Get Inspired

Check out some flatlays for inspiration before you venture out into the world of flatlaying.

Shoot from a birds eye view

The aim of a flatlay is to shoot from above the layout, so get up high if you need to and stand on a stool or ladder. If you’ve set up your flatlay on the floor you’ll be able to shoot from above once standing up, but it’s a little harder when you’re shooting on a table or bench top. Get above and over the top of your flatlay for the best shot.

Use Square Template

If you’re shooting a flatlay on your phone, use your camera’s square template to ensure all of the important elements are in the shot. Although platforms like Instagram now uploads portrait and landscape images without cropping them, square still looks the best on creates harmony and balance.

Focus on One Color Palette

Just like choosing a theme, it is important to choose a colour palette for your flatlay so that everything matches. Choose a color scheme and stick to it, whether it is earthy hues, shades of blue or strictly monochrome. Whatever you choose, resist the temptation to add a contrasting colour to your flatlay and instead accessorize with black, white and metallic.

Experiment with different layouts

Don’t always settle for the first arrangement you place, move things around and experiment with your layout until you find something that you are happy with. Be creative and place large items next to small and dainty items, or layer products on top of each other.

Build a props box

If you create flatlay images regularly for fun or as a requirement of your work in the digital space, build up a box of props to help give your flatlay a finishing touch each and every time. My prop box has magazines (both old and new), faux flowers, plants, fine jewellery, white cardboard, a marble tile, a succulent and a few pieces of home decor I picked up on sale. They come in handy every time. Try Primark home section for candles, lights and throws.

Good luck and start creating!

If you are looking for some further training on how to shoot the perfect flaylay then try our social media photography course on our website.

105 Hurst Road, Eastbourne, BN21 2PN